

Release Notes for NetAnalysis® Version 3.8 We are thrilled to announce the release of NetAnalysis® v3.8, packed with exciting updates and enhancements to bolster your digital investigation capabilities. This version brings comprehensive support for the latest browsing technologies, ensuring you stay ahead in uncovering crucial digital evidence. Here are the key highlights of this release: […]
Release Notes for NetAnalysis® Version 3.7 Welcome to NetAnalysis® Version 3.7. This latest iteration marks a significant milestone in our commitment to delivering state-of-the-art browser forensic analysis tools. Among the notable enhancements is our bolstered support for the latest Chromium-based Disk Cache, designed to provide forensic examiners with even greater capabilities for extracting and analysing […]
Release Notes for NetAnalysis® Version 3.6 Welcome to NetAnalysis® Version 3.6. We are excited to present this latest update, packed with new features and improvements to enhance your browser data, forensic analysis experience. New in this release, comprehensive support for Maxthon browser on Android, iOS, Windows and macOS. New Features In this release, we have […]
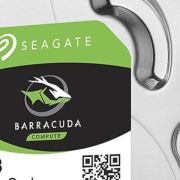
Why is this Important? During a forensic examination, establishing a timeline of events is usually an important aspect in the analytical process. This may involve you having to identify when a hard disk was manufactured. If you are a data recovery engineer, this information can also be useful when trying to identify donor drives and […]